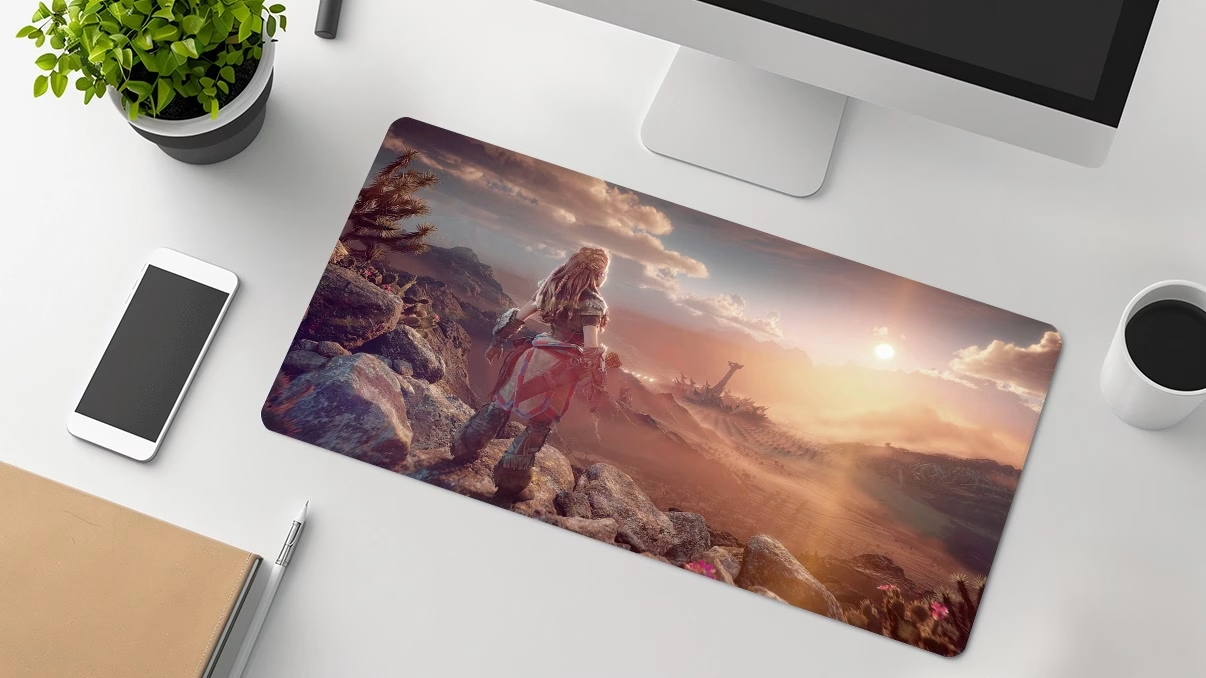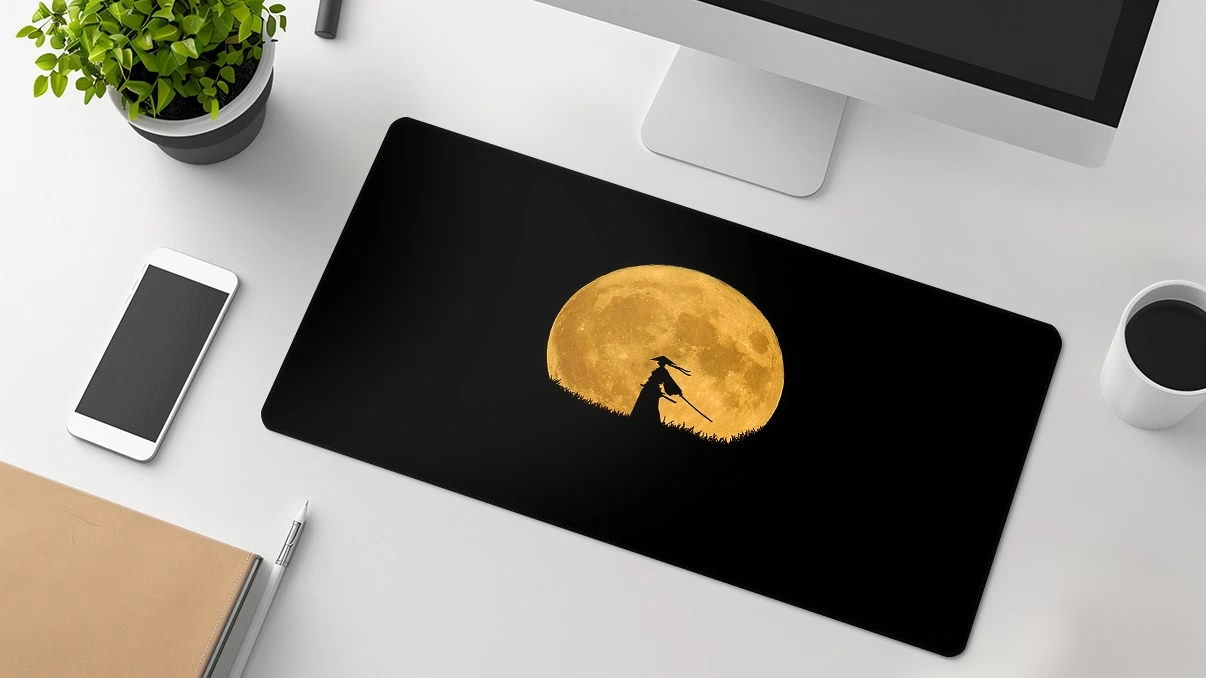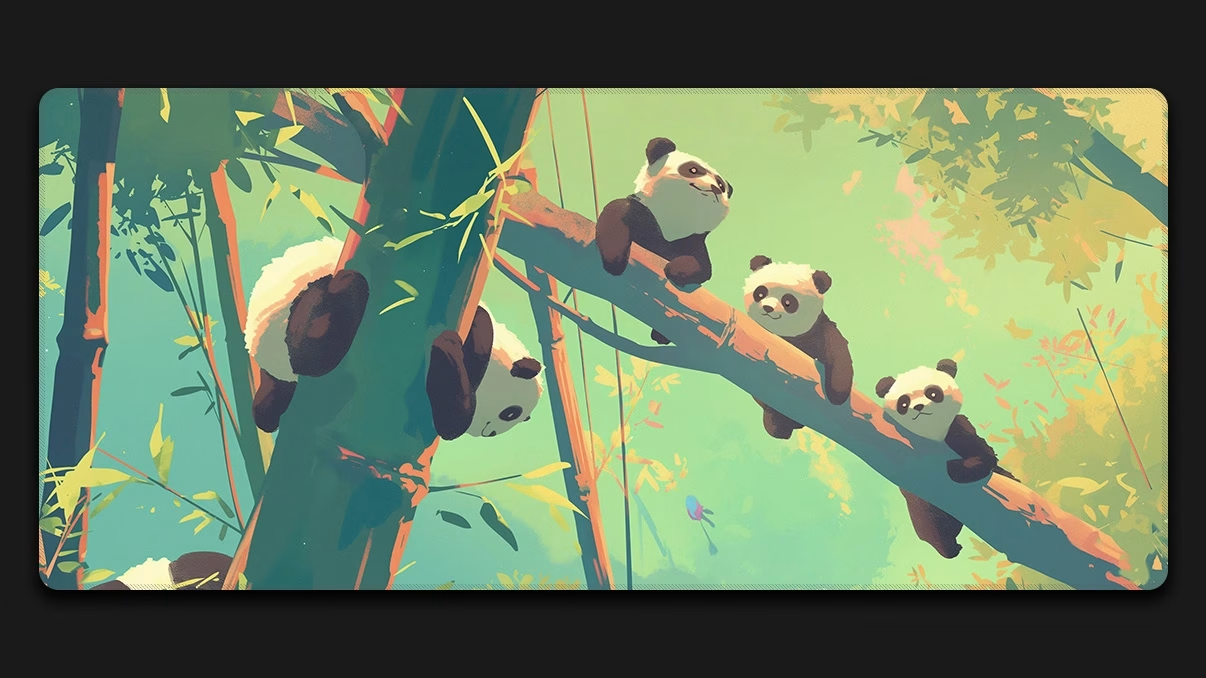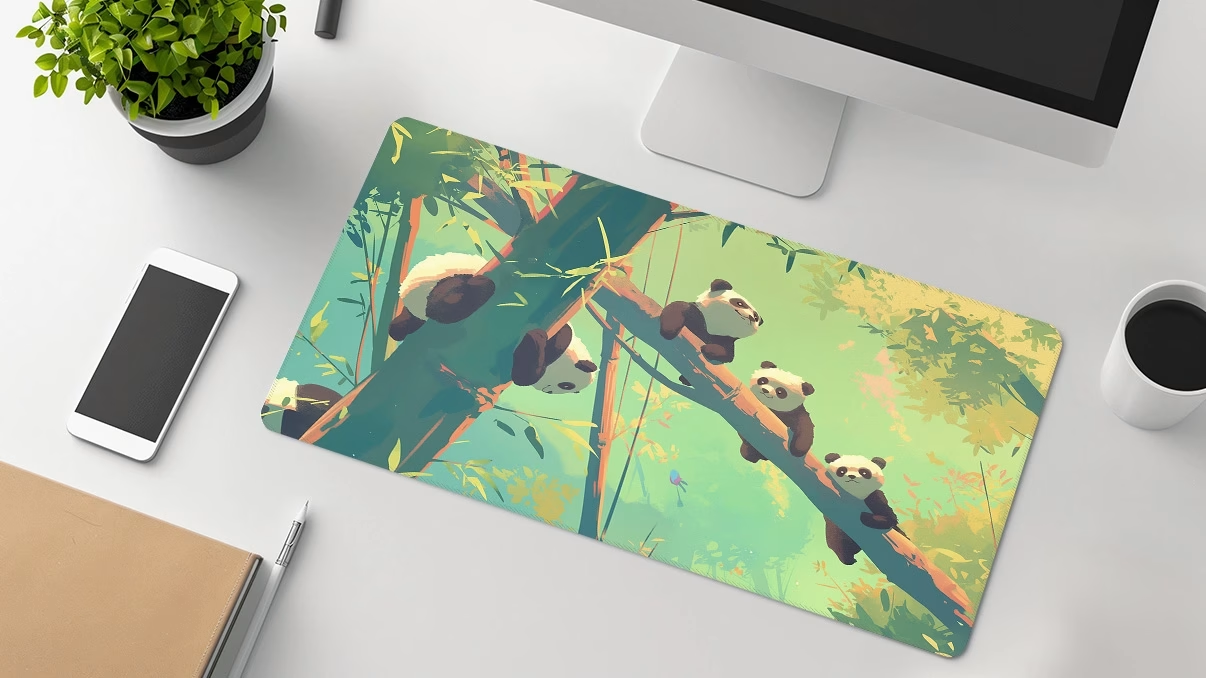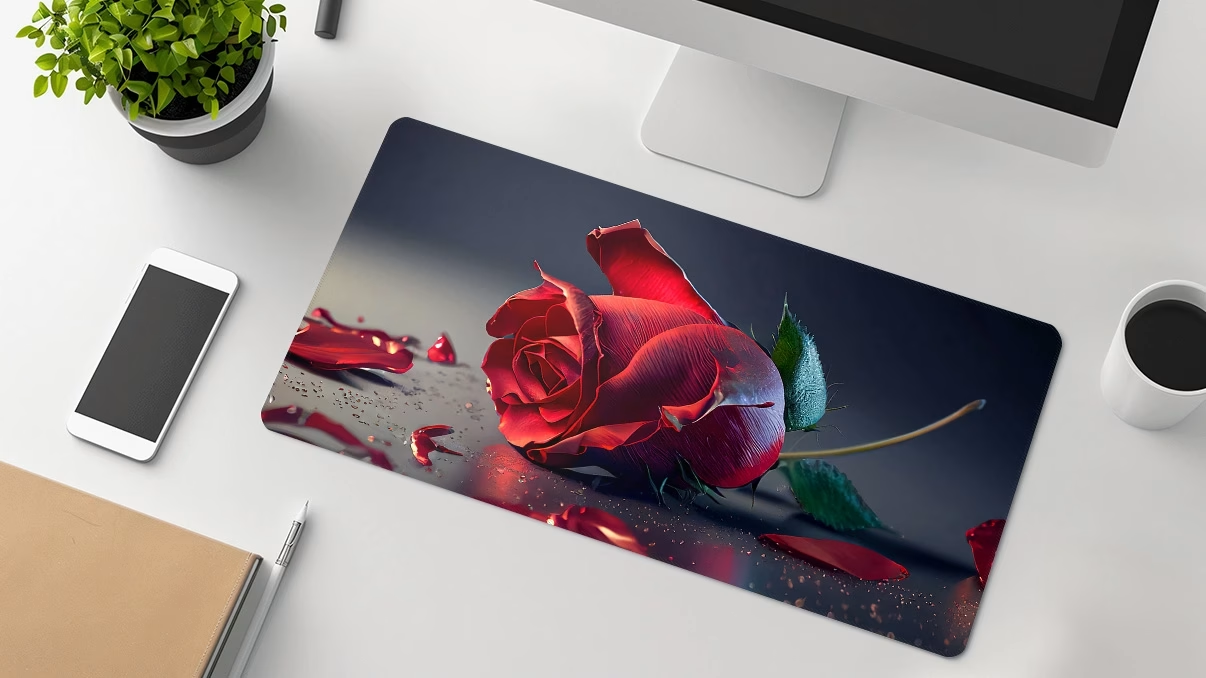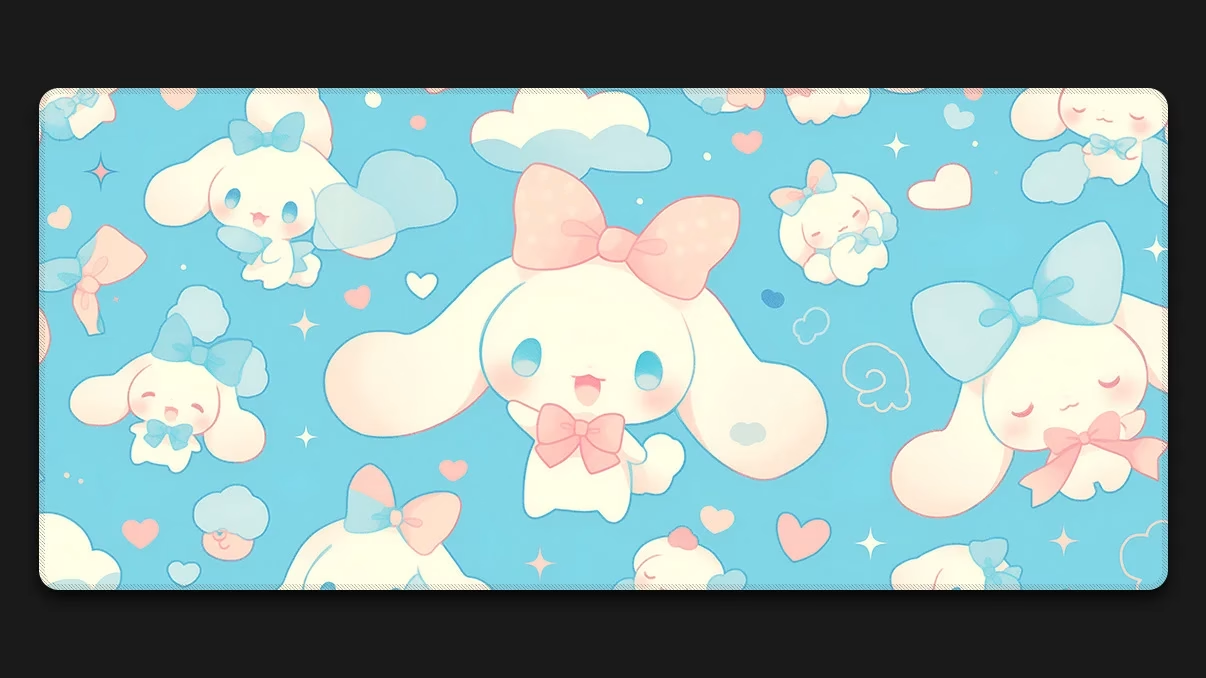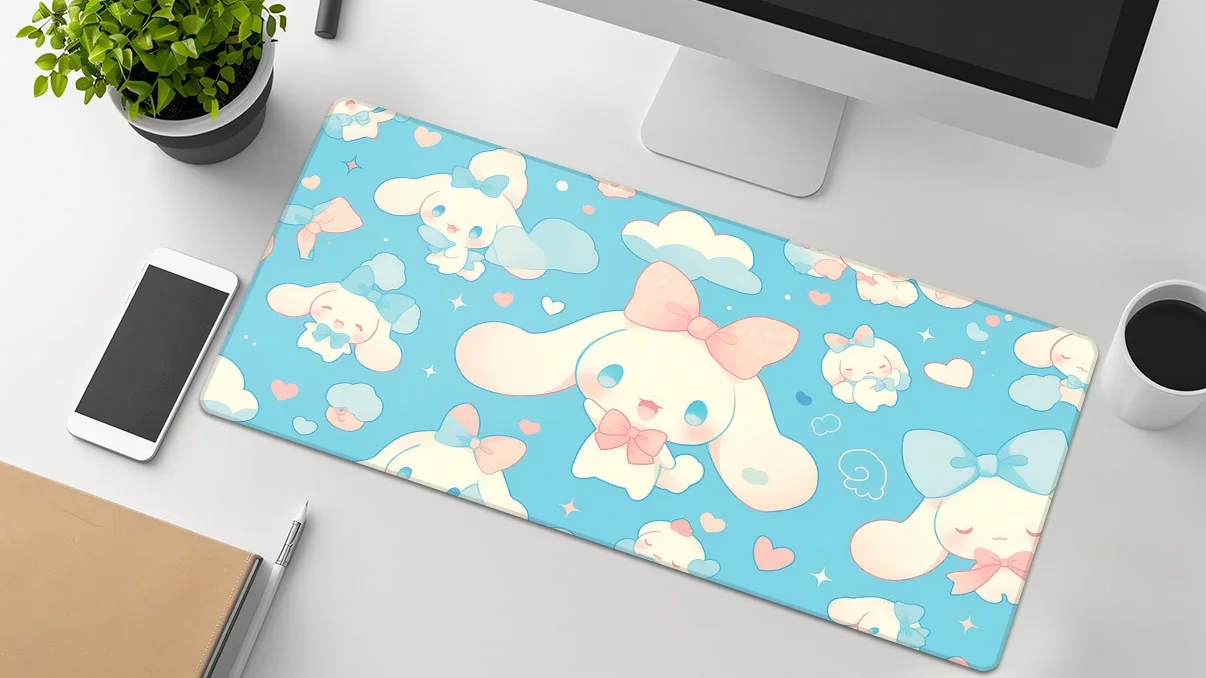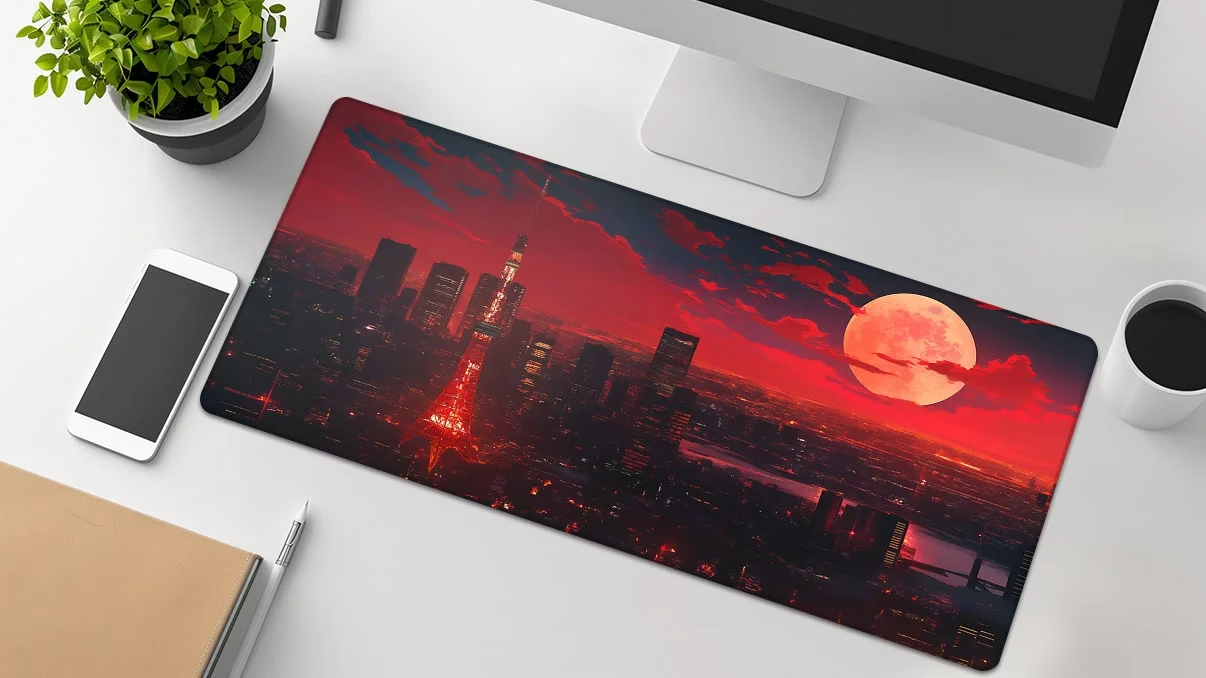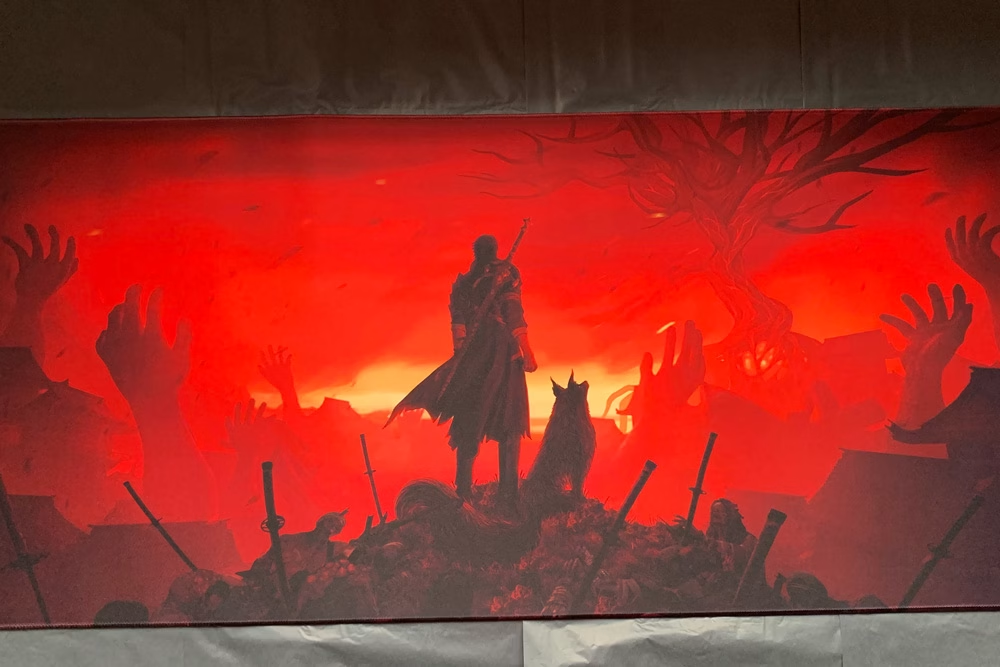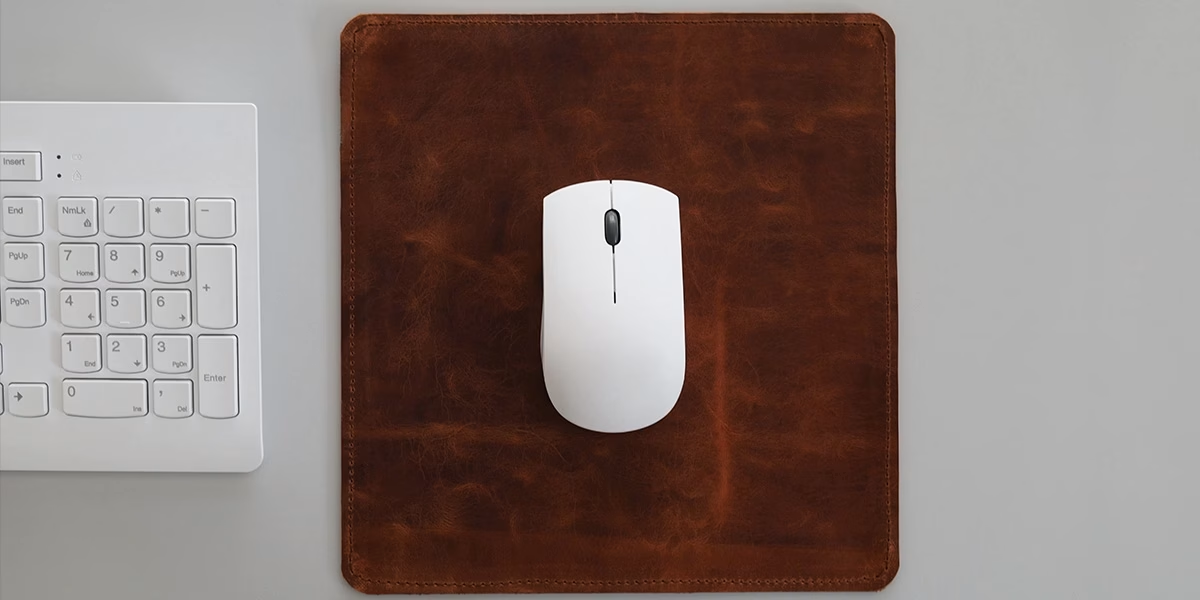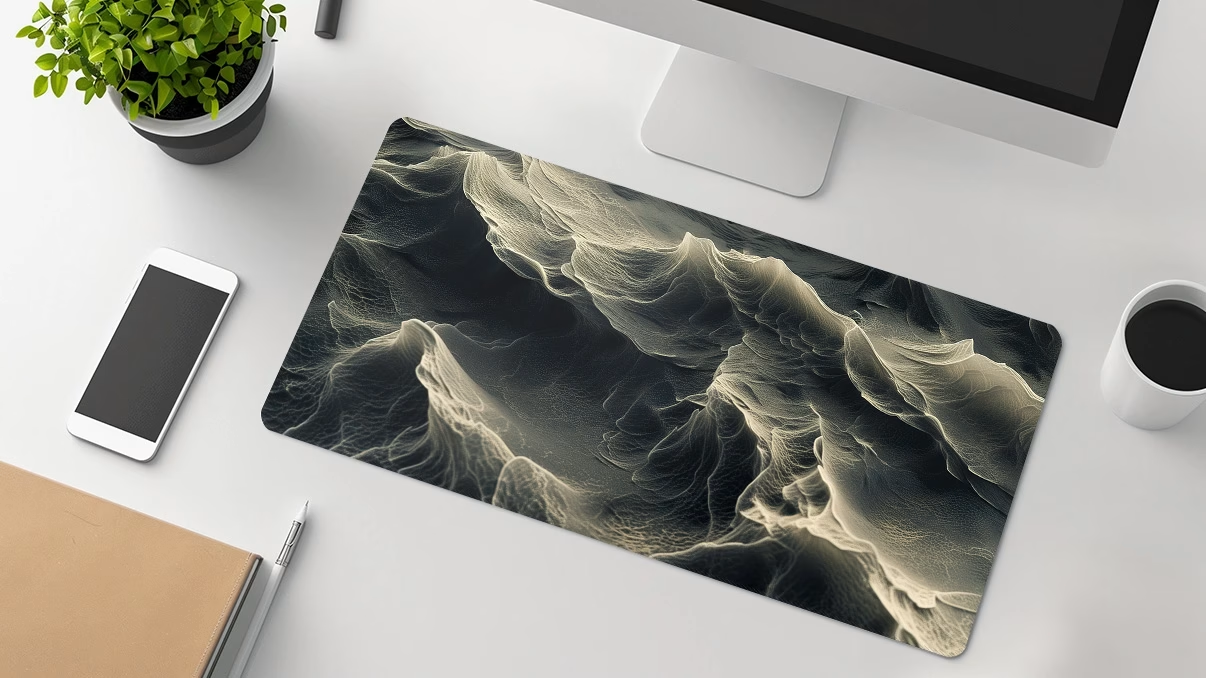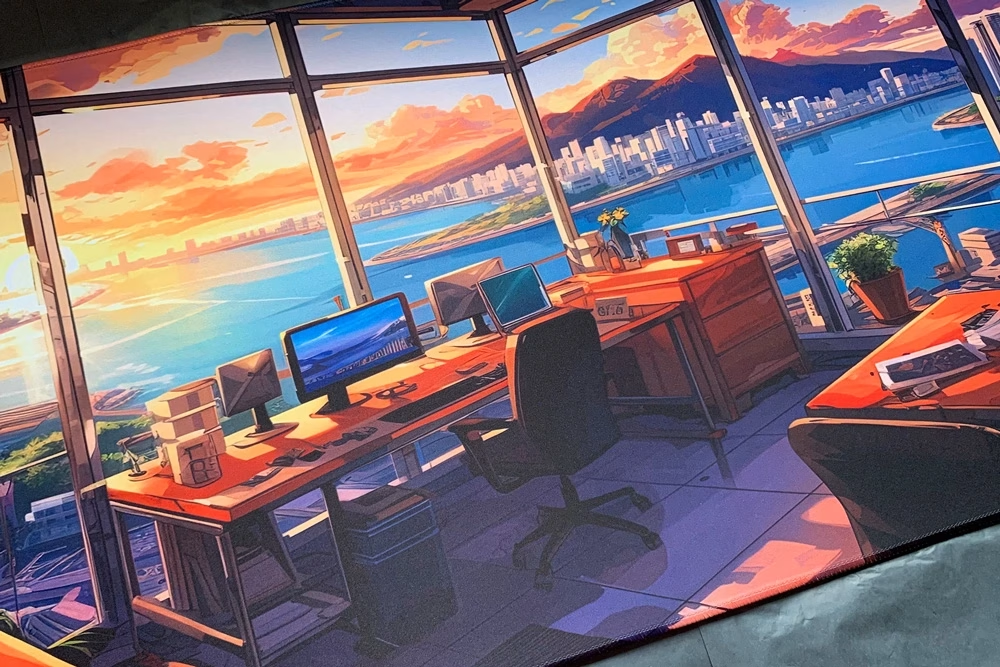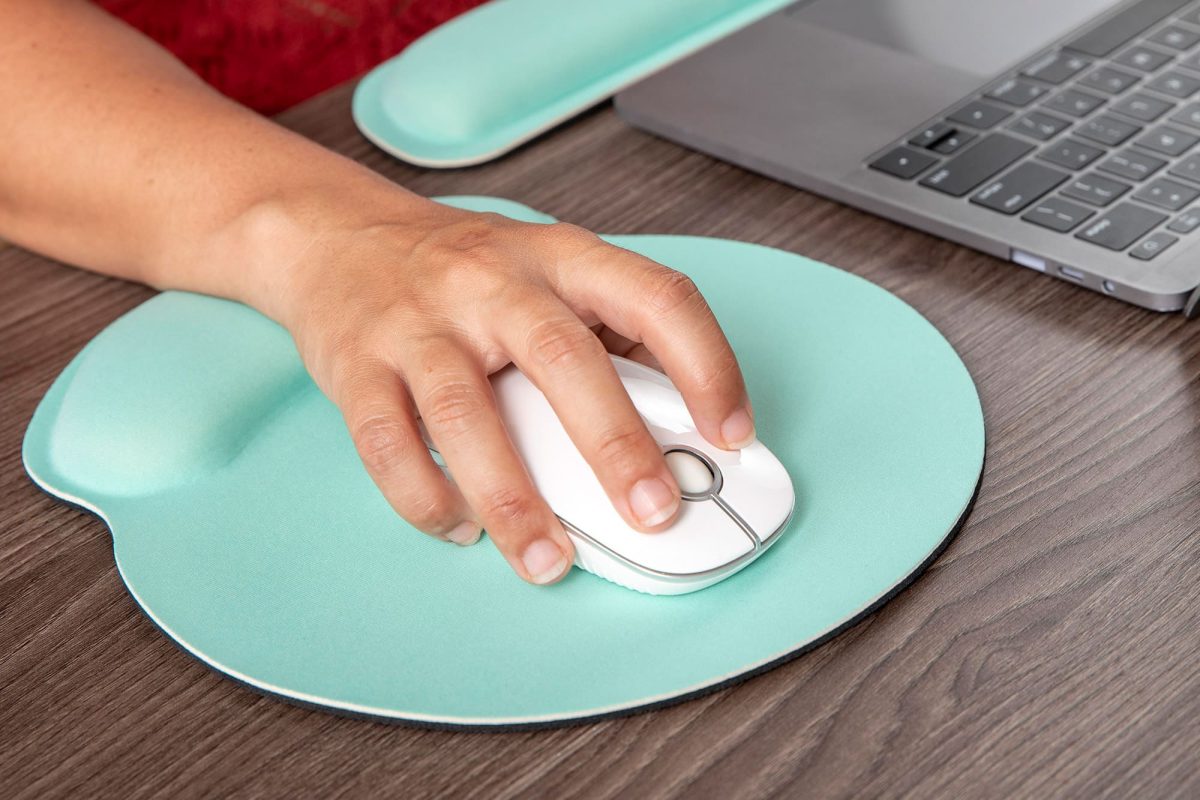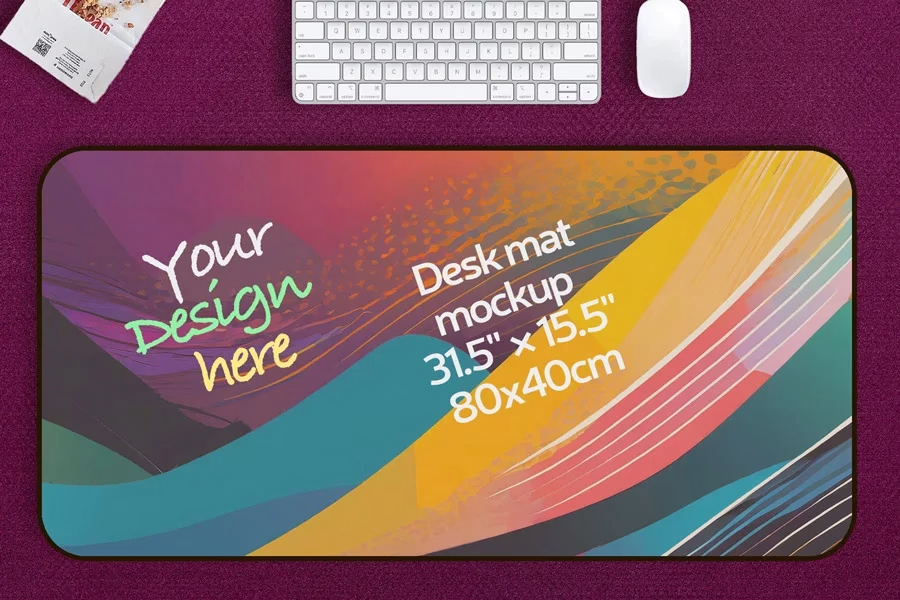


When we work, we often focus solely on picking the perfect keyboard or monitor, but one item undeniably transforms your experience—that’s right! You guessed it: the humble mouse pad!
But you are tired of ordinary mouse pads? I understand your feelings,Know that you want to create a truly person/all design ! Luckily, making a personalized mouse pad from scratch is entirely doable. If you’re new to making personalized mouse pads, our blog offers fantastic tips and beginner-friendly methods to help you craft one easily—what’s more exciting than that? Let’s dive in!
Why You’d Want to Make Personalized Mouse Pads
A Platform for Self-Expression: Print your favorite pattern, photo, or motto to showcase your personality.
Thoughtful Gift: Customize a meaningful mouse pad for friends or family as a unique present.
Brand Showcase: If you’re a creator or small business owner, use it to promote your logo or work.
What material do you need for a mouse pad at home?
Step 1: Prepare materials and tools
Once you’ve learned the basics of making a personalized mouse pad, you can try some simple materials, such as buying a blank mouse pad (rubber bottom + cloth top is the most common combination), or DIY bases such as EVA foam, cork board, etc.
Of course, the surface is where the mouse slides, so the mouse pad material used is very important.
At least when you use it, you can feel the surface is very smooth. Among the options I recommend.
Cloth: An old cotton T-shirt, a piece of canvas, or a piece of polyester fiber scraps are good. They are soft, easy to work with, and perfect for printing or drawing patterns.
Cork: Thin cork boards (available at craft stores or old coasters) have a natural texture and work surprisingly well for most mice.
Step 2: Adhesive (bonding the layers)
You need something to fix the surface and base together: a strong, flexible glue like PVA or fabric glue is a very good choice.
I’ve experimented with double-sided tape and hot glue before, but I’ll admit they’re not as effective as fabric glue. In my experience, mouse pads made with fabric glue hold up far better and last longer. That said, if you prefer, you can also follow my lead and use a sewing machine to add a few stitches around the edges.
Naturally, we’ll also need design materials: heat transfer paper (ideal for cloth), an inkjet printer, or acrylic paints and markers for direct hand-painting.
You’ll also need tools: scissors, a ruler, an iron (for heat transfer) or a heat press, and glue (if bonding is required).
For a protective layer (optional), consider transparent spray paint or a waterproof coating, which can significantly extend the life of your mouse pad.
Next, let’s dive into the detailed production steps!
Mark the Shape:
Lay your fabric flat on a hard surface (table or cutting mat). Smooth out wrinkles with your hands.
Use a pencil (for light fabric) or chalk (for dark) to trace your size. Draw a rectangle—or get creative with a circle (use a plate as a template) or custom shape.
On the rubber, use a permanent marker (it shows up better). Align it roughly with the fabric size.
Add a 0.5-inch (1 cm) buffer around all sides—e.g., cut 10×8 inches for a 9×7-inch pad. This gives wiggle room for trimming.
Cut It Out:
Fabric: Grab sharp fabric scissors. Hold the material taut with your non-cutting hand, slicing slowly along the line. If it’s thick (like denim), cut in small sections to avoid jagged edges.
Rubber: Use scissors or a utility knife. For scissors, press hard and cut steadily—rubber resists more than fabric. For a knife, place on a cutting mat, score lightly along the line, then deepen the cut over 2-3 passes. Check both sides for clean edges.
Step 3: Mouse Pad Design
This is the most crucial step in making our personalized mouse pad, so now you need to focus. I’ve decided to use the heat transfer method because it allows you to display my design with incredible clarity while also producing vibrant, long-lasting results.
So, before we get started, you can first choose a pattern you love or create your own logo.
Gear Up: You’ll need an inkjet printer (laser printers won’t work with most transfer papers) and heat transfer paper—check the package to ensure it’s for inkjet and fabric (brands like Avery or Neenah are solid picks).
Set Up the Printer: Load one sheet of transfer paper into your printer’s tray—place it face-up or face-down depending on your printer’s instructions (check the paper’s guide). In your print settings, select “high quality” or “photo” mode for the best color payoff.
Mirror the Image: This is critical! In your print dialog box, find the “mirror image” or “flip horizontally” option and check it. Why? The design prints reversed so it flips the right way when transferred. Skip this, and your text or logo will be backward—trust me, I’ve learned this the hard way!
Print and Check: Hit print, then let the ink dry for 5-10 minutes. Hold the paper up to light—ensure the colors are bold and the lines sharp. If it looks faded, adjust your printer’s ink settings and try again.
Craft Glue:
After everything is done, we Lay the rubber on a flat surface. Pour glue into a small dish (1-2 tablespoons for a 9×7 pad).
Dip a foam brush or spread with a plastic spatula—aim for a thin, even coat, leaving a 0.25-inch (0.5 cm) border to avoid seepage.
Align fabric over rubber. Lower it from one edge, pressing as you go to avoid trapping air. Smooth with your palms, working center-out.
Check for bubbles—lift and reposition if needed within 1-2 minutes .
After drying for 4-6 hours, our personalized mouse pad is complete. This makes me feel a little excited, and I think you feel the same as I do. If this blog helps you, please share it with your friends!